This week I took part in an OSU extension class called "Practical Introduction to Cheesemaking" (See flyer here). The class was led by Dr. Lisbeth Goddik of OSU with Marc Bates, former Creamery Operator and Manager for Washington State University Creamery. The class was a basic introduction to cheesemaking, aimed at the entrepreneur interested in starting a commercial artisan cheese plant. Despite this, the class was encouraged to ask questions as technical or advanced as they wanted, and the instructors were very happy to scale down the topics to the home cheesemaker.
I also really enjoyed being with about 20 other students as interested in cheesemaking as I am. One of my only regrets is not getting more contact information from my classmates (if one of you are reading this entry, and want to be added to my rolodex, please mail me at contact@joyofcheesemaking.com). There were chefs interested in making cheese at their restaurants, dairy owners interested in making cheese from their livestock, people really interested in starting up a creamer, and home cheesemakers like me trying to get really serious about the hobby.
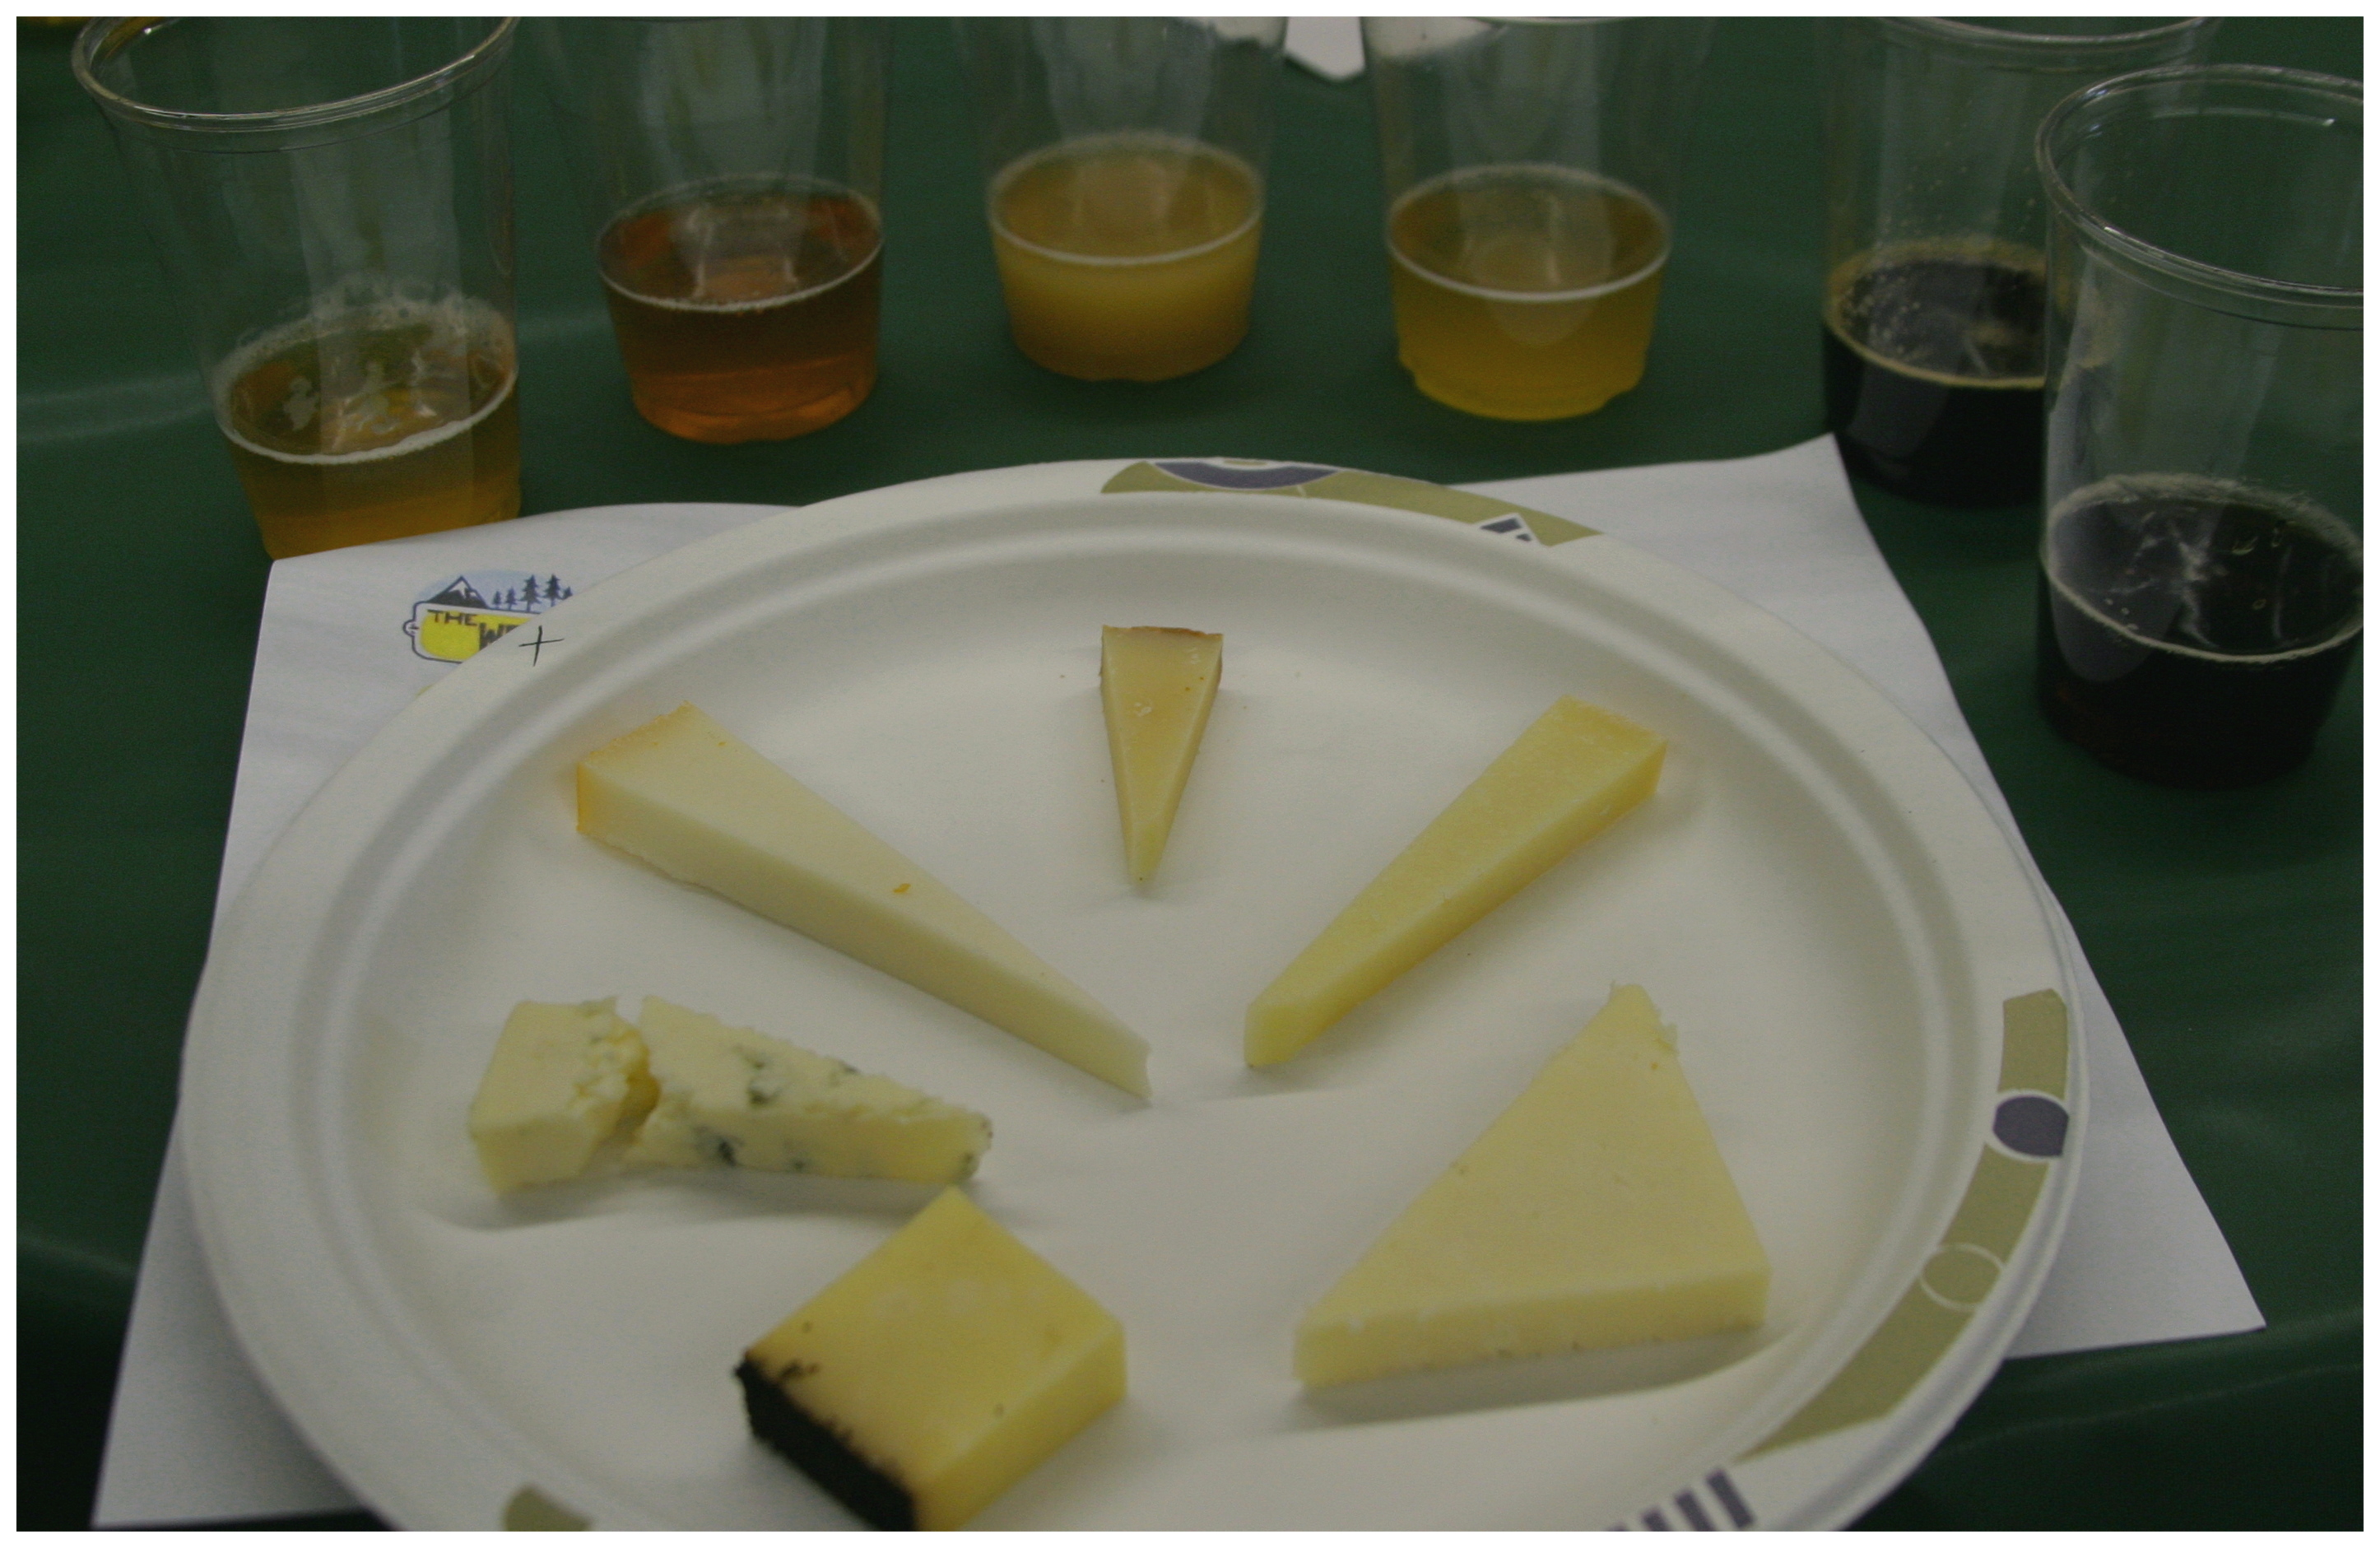
We practiced making cheese in the OSU Cheese Pilot Plant. This was very exciting, as we were working with commercial scale equipment. See the flicker stream linked in the photo above (and more photos will be coming soon).
I learned so many interesting tidbits of cheesemaking knowledge that I thought I would use this blog entry as a notepad to jot them down for my own personal reference and to share with the web world. Check back and watch the list below expand as I get the time to add more entries. If you were in the class feel free to add your own in the comments section, and I can add them to this list.
- Chlorine is used as a sanitizer commercially at a level that equipment does not have to be rinsed after sanitation. This is in the 80-100 ppm (parts per million) level. Chlorine is inactivated by contact with organic material, such as milk. As soon as the chlorine touches the milk it is inactivated and will not affect bacterial cultures, molds, or rennet added to the cheese milk. Marc Bates gave us a good trick of adding a few drops of milk to the container holding the water into which you are going to dilute the rennet to inactivate any residual sanitizer. The milk will not coagulate because it is at such low concentration.
I found this site which shows that a 200 ppm Cl solution can be achieved by adding bleach to water in a 124 to 1 ratio. There are 768 teaspoons in a gallon, so this is equivalent to 6.2 teaspoons per gallon. To get 80 ppm, you need approximately 2.5 teaspoons bleach per gallon. I use a 32 ounce spray bottle (picked up from a hardware store), which would requires 0.625 tsp of bleach for 80 ppm (there are 128 ounces in a gallon). Free chloride is neutralized by light, so it is best to make a fresh solution for each cheesemaking session. - A really good source of cheesemaking information is the University of Guelph's Cheese Page. Apparently Prof. Goddik uses this like and instead of a textbook when teaching cheesemaking classes in the university.
Other reference books mentioned were G.H. Wilster's Practical Cheesemaking(out of print), Cheese Problems Solved
by P. McSweeny, Cheesemaking Practice
by J.E. Scott, and Fundamentals of Cheese Science
by Patrick F. Fox.
- Tomme is a generic term for a style of cheese made by French farmers who did not want to make cheese 7 days a week. They would collect the milk from the weekend and make big batch of cheese on Monday and call it tomme.
- Cows fed on silage or feed that has fungus spores can give milk infected with the same spores. However, rather than the spores making it through the digestive track and making their way through the udder, as one might think, they are actually sucked in from the environment into the milking apparatus which has a constant vacuum, especially when detaching the apparatus from the udder.
- B. Linens, used in washed rind cheese, need oxygen and salt to survive, which is why they are sprayed on the surface of the cheese rather than added to the cheesemilk. Washing the rind with a 10% salt solution encourages the B. Linens, but discourages other molds and bacteria. B. Linens also require a low acid environment and so yeasts (Kluyveromyces lactis and Candida Utilis) and Geotrichum Candidum are used to neutralize the acidic environment of cheese so B. Linens can grow.
- Recommendations for the home cheesemaker who is using freeze dried cultures and molds from packets that are meant to be opened and used once by commercial cheesemakers: Re-wrap the packet tightly and re-cool as quickly as possible. Also, do not put the spoon you are measuring with into the freeze dried packet, instead tap out the powder onto the spoon. Otherwise you may contaminate the contents for many uses to come.
- I asked if there were any signs to look for in a homemade cheese that would indicate that the cheese might contain pathogens. The answer was a definite no, it is impossible to tell from simple examination. I took away from that it is best to use good sanitation and good quality milk to reduce the chances of pathogens growing in your cheese.
- Cheese salt used commercially is very fine, like a powder, not course course like kosher salt. Lisbeth Goddik told me in her opinion there is no need to use cheese salt unless you are dry salting large loaves of cheddar, where the even distribution of salt is important. She uses pickling salt in her pilot plant since it does not contain iodine, which is important.
If you really wanted to approximate cheese salt, you could put pickling salt in a food processor and run on high for a minute. I have done this in the past to make "popcorn salt" which dissolves very quickly due to its small crystal size. - Mixing raw milk with homogenized milk will cause rancidity almost immediately. In raw milk, the fat globules are encased in a membrane that keeps the fat separated from the water in the milk. On this membrane are lipase enzymes, which break apart fat molecules. Homogenized milk has had its fat globules broken into small droplets stripped of the external membrane. When raw and homogenized milk are mixed, the lipase in the raw milk very quickly attacks the unprotected droplets of fat in the homogenized milk.
- I brought one of my first homemade cheeses to class, a gouda. The cheese did not taste very good, at least to me. I characterized the flavor a rancid. It was quickly determined that he flavor came from the lipase I had added (which I had done to hopefully create a sharper flavor in the cheese). Dr. Goddik described the flavor as not necessarily bad, but not in balance with the other flavors in the cheese. The lipase I used was labeled as "sharp" and suitable for Parmesan styled cheese. When tasting it again I realized what I had called the rancid flavor could be described as the sharp flavor of Parmesan in an overpowering amount. I was very pleased that the cause of this failure had been determined.